
The problem clinic teams face
Clinics and labs often hit the same snag: a gap between a CAD setup and the finished prosthesis that demands rework, extra chair time and strained patient trust. The core issues are predictable — inconsistent print orientation, unpredictable resin behaviour, and insufficient verification steps. Deploying a reliable dental resin 3d printer is one move, but without a clear workflow those gains vanish and the patient still waits longer than they should.
A compact, problem-driven workflow
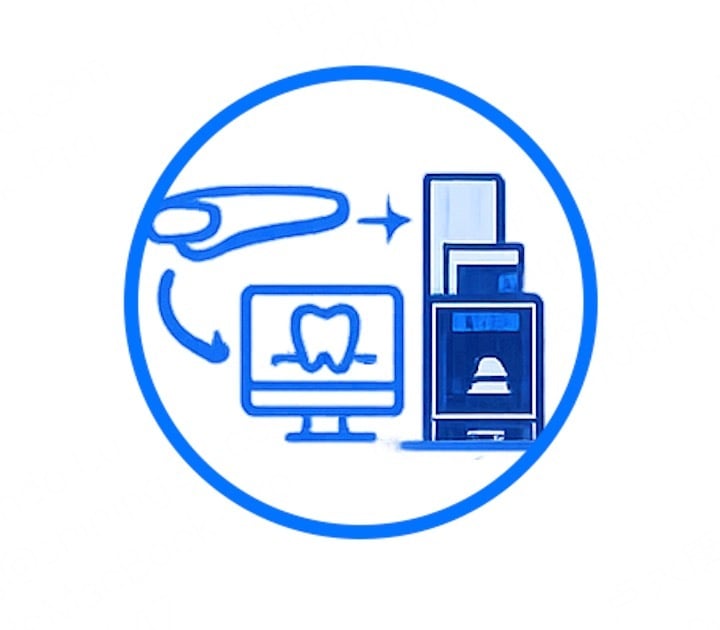
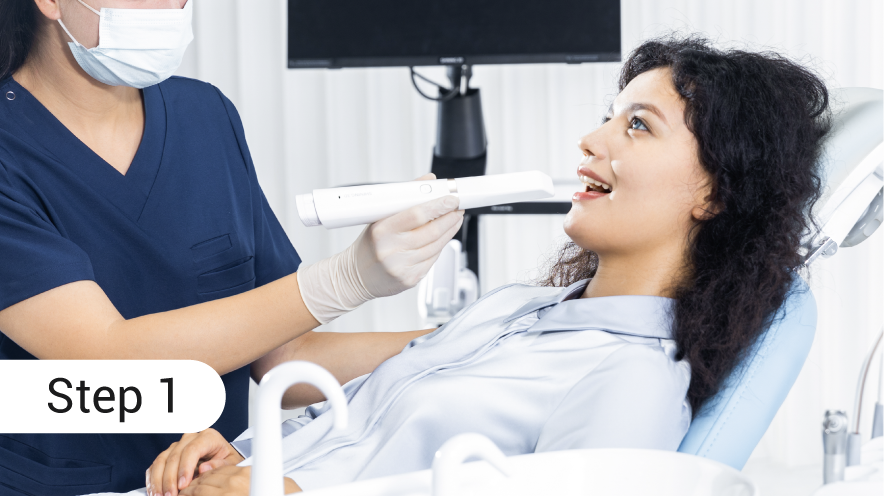
Start from the failure you wish to stop. First, verify scan integrity immediately after capture; reject scans with noisy margins rather than patching them later. Next, set a controlled print orientation that prioritises marginal fit and internal support strength over aesthetic surface finish. Then run a quick post-print jig check against the digital model before any finishing. Finish only after pass/fail checks confirm fit, occlusion and marginal seal. Each step is a short gate: if the piece fails, loop back one stage and correct the specific input rather than redoing the whole chain.
Checks that save time and trust
Assign simple, repeatable measures at three points: pre-print scan validation, immediate post-print dimensional check, and a clinical fit test before polishing. Use pass/fail criteria with tolerances you define (for example, marginal gap threshold and occlusal contacts). Document failures briefly and adjust the preceding variable — orientation, support density, or curing schedule — rather than guessing. These controls reduce surprise remakes and keep the patient experience straightforward.
Experience and an industry anchor
I’ve consulted with dental laboratories across Edinburgh and Glasgow for over a decade, guiding teams through the common transition from analogue tinkering to dependable digital delivery. Practical demonstrations at the International Dental Show in Cologne underscore one truth: consistency matters more than the fanciest feature. When clinics saw repeatable outcomes on show-floor cases, the conversation turned from novelty to process. That real-world context applies directly when selecting a resin 3d printer for dental—pick a platform with proven dimensional stability and accessible service support.
Common pitfalls and how to avoid them
Do not assume every resin behaves the same under your light-curing unit; a change of manufacturer or batch can alter polymerisation. Avoid using the printer’s default orientation for every case; a one-size orientation causes more remakes than it saves. Never skip a dry run of your post-processing cycle on a calibration piece — that single check reveals whether your wash and cure steps deliver the expected hardness and fit. Lastly, keep consumable logs; unidentified resin swaps are a quiet source of variability.
Alternatives and reasonable trade-offs
If your priority is ultra-smooth anterior aesthetics, layered milling or a higher-resolution stereolithography machine may outperform a generalist resin printer on surface finish. If speed and throughput are critical, a dedicated rapid-print resin system with standardised post-processing can be superior to ad-hoc setups. Balance throughput, material properties and lab skill: sometimes a slight compromise in surface polish yields large gains in fit and patient satisfaction.
Synthesis and practical assurance
Fix the process where failures recur: tighten scan acceptance, standardise print orientation, and gate post-processing with concrete checks. Those changes convert sporadic success into predictable outcomes and preserve clinical time. For teams moving from trial-and-error to disciplined digital practice, tools and partners that demonstrate repeatable results in real settings are essential, and that pragmatic alignment of equipment, method and support is precisely what SHINING 3D DENTAL illustrates through its platform and field experience.