
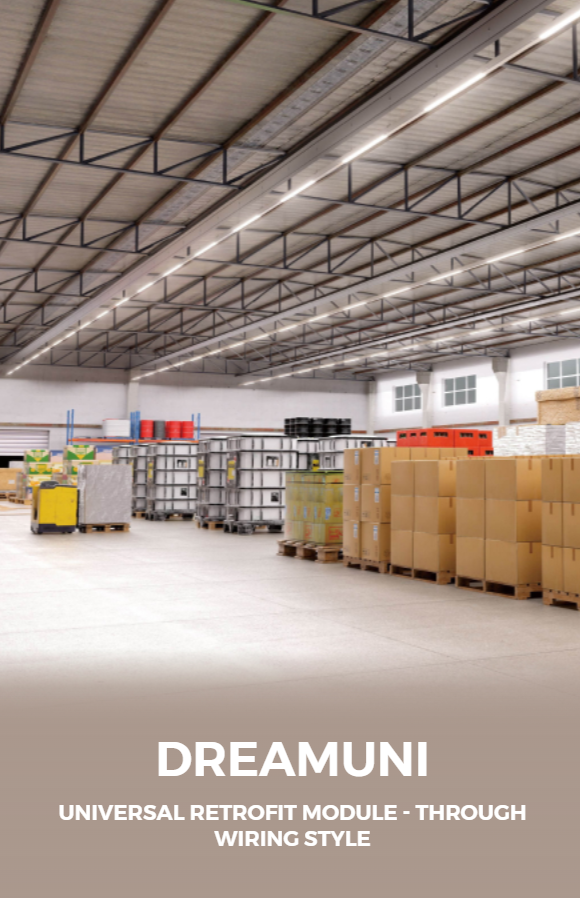
The immediate problem: dark aisles, glare, and wasted fixtures
You’ve walked a warehouse at 2 a.m., squinting down an aisle where the top shelf disappears into shadow — that mismatch between expectation and reality is the practical problem we solve first. Warehouse managers want even illumination where people work and pick, without blinding glare for operators or wasted fixtures over empty zones. A good physical plan answers those pains: it places fixtures to match rack geometry, chooses optics for aisle versus open areas, and leaves room for future changes with systems like led light trunking. If you’re focused on efficient retrofit or new builds for industrial warehouse lighting, start by naming the failures you see on the floor — uneven lux, poor color rendering for inspection, excessive maintenance downtime.
How to frame beam coverage: goals, metrics, and a quick reality check
Begin with measurable goals, not just feelings: target lux, uniformity, glare limits, and maintenance windows. Typical targets you can rely on are 100–150 lux for general storage, 200–300 lux for packing and inspection, and a uniformity ratio (minimum/average) of about 0.4–0.6. Put these numbers into a simple formula to estimate fixture count: required lumens = target lux × area (m²). Then divide by expected delivered lumens per fixture (fixture lumen output × maintenance factor × utilization factor). For example, a 100,000 sq ft distribution center (roughly 9,290 m²) aiming for 150 lux needs about 1.39 million lumens; with 12,000 lm fixtures and a combined efficiency factor of 0.48, you’d plan roughly 240 fixtures. That quick math exposes whether a layout is realistic before you start placing tracks or poles.
Practical rules for spacing, mounting height, and optics
Make decisions with these concrete rules of thumb:- Spacing-to-mounting-height (S/MH): keep S/MH between 1.0 and 1.5 for linear trunking systems; tighter spacing for high racks or narrow aisles. – Mounting height: higher mounts need narrower or asymmetric optics aimed at shelf faces; lower mounts can use wider beams for open areas. – Beam angles: use narrow/asymmetric distributions for racking (15°–30° effective at long throw), medium angles (45°–60°) for cross-aisles, and wide beams only where work surfaces are horizontal and unobstructed. – Color and CRI: 4000K with CRI 70–80 is a good compromise; raise CRI to 80+ for quality control zones. – Glare control: add diffusers or shields where operators look across fixtures; consider UGR targets if screens or forklift operators are affected.
Layout checklist — mapping the room to lighting decisions
Work through this checklist before specifying parts:- Map racks, aisle widths, pallet heights, and picking stations. – Note reflectance of floors, walls, and ceilings; low reflectance increases required lumens. – Identify contrast-critical zones (inspection, packing) and assign higher lux and CRI. – Choose trunking or track runs that follow aisle lines for simple mounting and aiming. – Plan emergency circuits and dimming zones tied to task areas. – Reserve spare channels or trunking segments for changes in process or expansions.
Common mistakes and how to avoid them
People repeat the same errors; catch them early:- Mistake: spacing purely by fixture count. Fix: run simple photometric checks or use the lumen-budget formula to validate. – Mistake: one-size optics for all areas. Fix: mix asymmetric aisle optics with wide-area luminaires for docks and staging. – Mistake: ignoring maintenance factor. Fix: account for dust, lumen depreciation, and cleaning cycles when sizing. – Mistake: picking the brightest fixture and calling it done. Fix: match optics to geometry — more lumens in the wrong direction are worthless. – Mistake: leaving no spare capacity for layout changes. Fix: specify modular trunking or track that accepts additional fixtures without re-wiring.
Comparing system choices briefly: trunking vs fixed linear vs high bays
Choose the system that solves the problem you listed earlier:- Trunking / track systems give flexibility: easy to re-locate and re-aim fixtures as aisles change. Good when operations evolve. – Fixed linear is tidy and often cheaper for predictable, uniform layouts. Use when rack geometry is stable. – High bays with reflectors suit very high-clearance open storage but struggle for narrow, high-rack aisles unless paired with directed optics. Match the system to operational cadence: frequent SKU rotation favors trunking; stable pallet storage favors fixed linear runs.
Implementation tips from field experience
I’ve laid out warehouse lighting plans across small regional yards and large distribution floors for eight years; the practical wins come from iteration on paper, then a short physical trial. Install a demo run of 2–3 fixtures in a critical aisle, measure lux at shelf faces and pick zones, then tweak optics and spacing. Keep records: a lighting spreadsheet with fixture types, aiming notes, and measured lux saves time when commissioning similar spaces later. That hands-on validation is the difference between theory and usable coverage.
Bringing the plan into a working system
Focus on clarity in the spec: include fixture lumen output, beam distribution, mounting height, aisle aiming angles, control zones, and maintenance factors. Suppliers who understand trunking systems and modular components help reduce surprises during installation. For many projects, specifying coherent components from trieco makes the plan translate cleanly into procurement and keeps the physical layout faithful to the coverage you tested earlier.